- Individual Patterns
Featured Products
-
- Knitting Pack
Featured Products
-
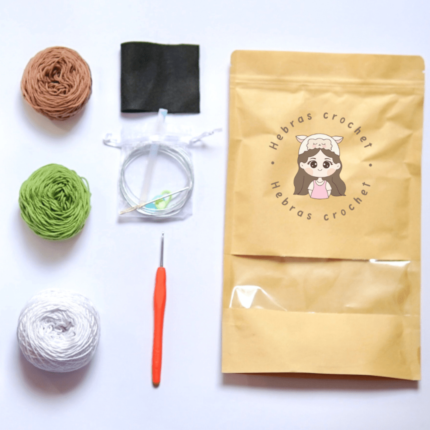
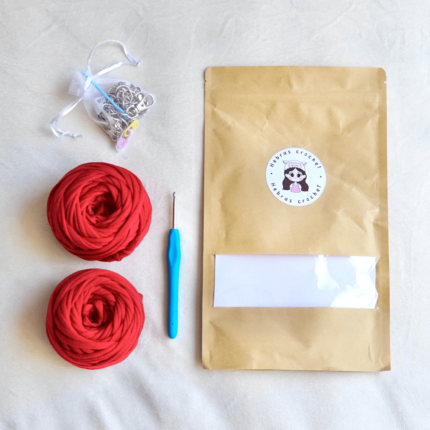
- Knitting Kit
Featured Products
-
- Online Courses
Featured Courses
-
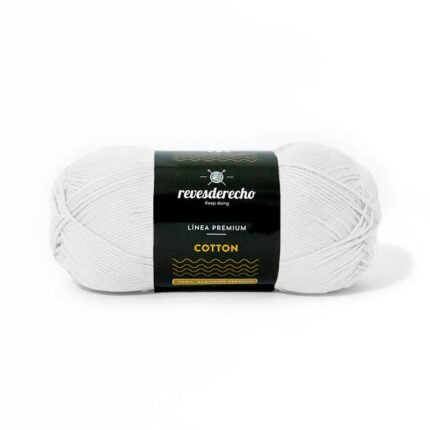
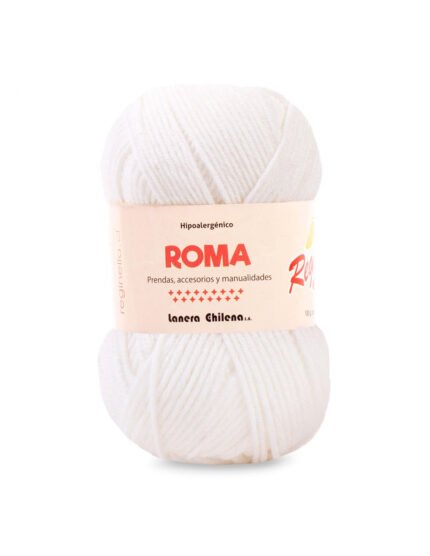
- Yarn Balls
All Products
-
- Accessories
All Products
-


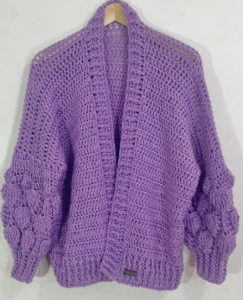
Bubble coat
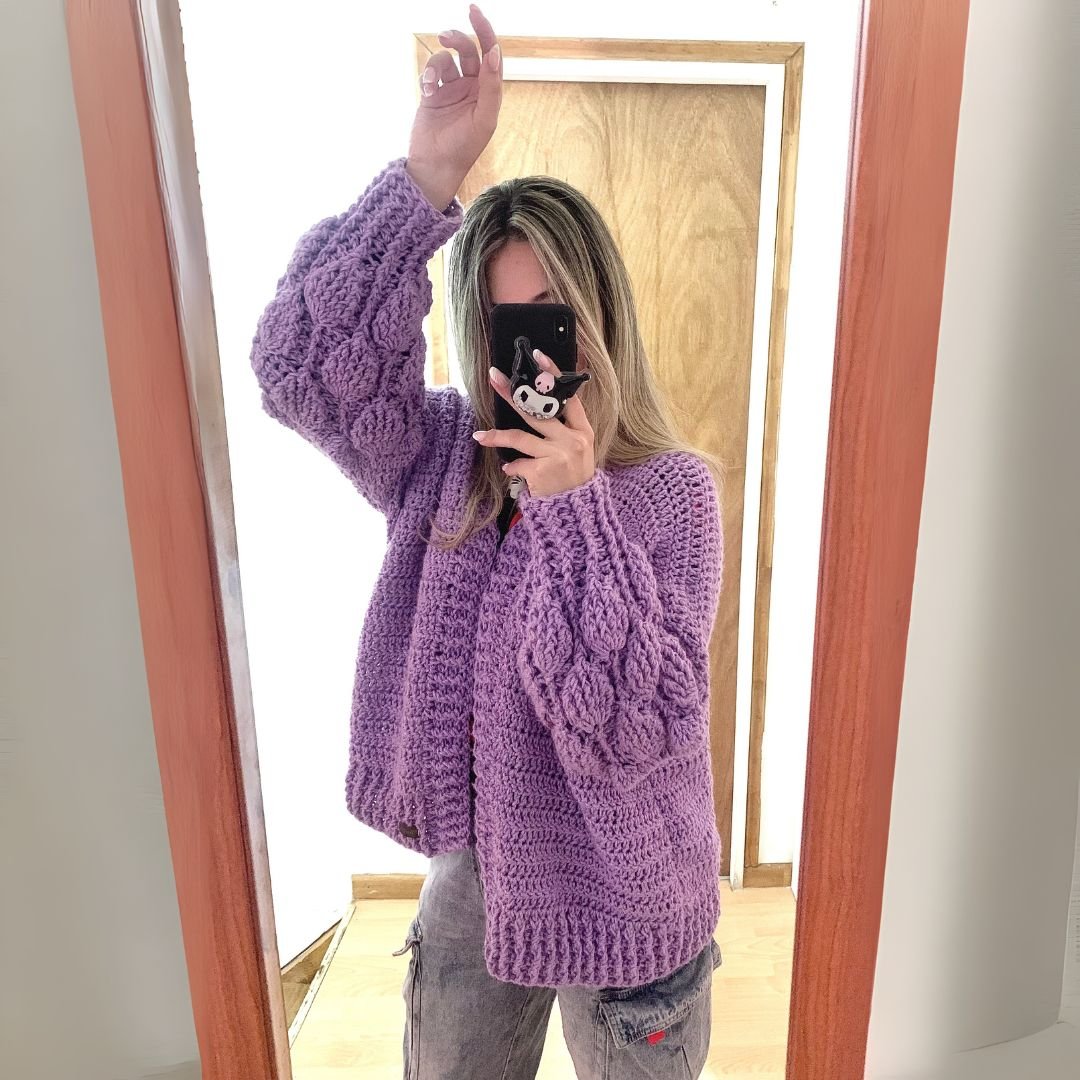
Create the Bubble Coat with this detailed knitting pattern. It includes instructions for the sleeves, bubbles, and ribbing.
Hello, I wanted to remind you that once you have finished the Bubble Coat, you are free to sell it retail without intermediaries. The use that is NOT allowed is reselling this pattern, transcribing it, distributing it, copying it, or sharing it. The purpose of this pattern is for you to knit the coat I designed.
ABBREVIATIONS:
sl st: slip stitch
hdc: half double crochet
sc: single crochet
dc: double crochet
inc: increase (2 sc in the next sc)
dec: decrease (insert hook through 2 front loops together)
Materials
Adult Size M
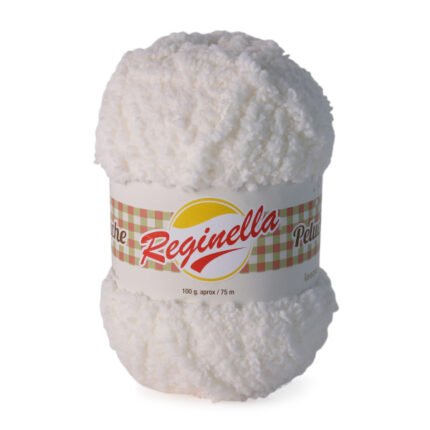
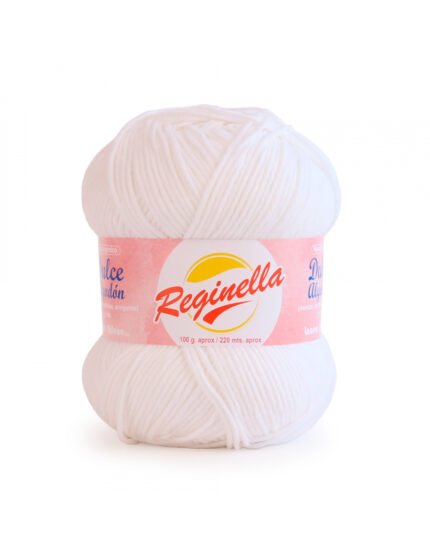
4-ply yarn
Amount of yarn: 7 balls of 100 g (approximately 700 g)
Crochet hook: 7.00mm
Stitch markers: 4
Tapestry needle
Scissors
Note: For size S, use a 5.00mm or 6.00mm crochet hook; for sizes M and L, use a 7.00mm crochet hook.
Back
Ch: 70 + 4 for height
Skip 3 chains and in the 4th chain make double crochet stitches.
R1 – R30: 71 double crochet stitches.
On the top part of the back (where the shoulders are), place the stitch markers to begin crocheting the chest area and to mark the opening of the coat.
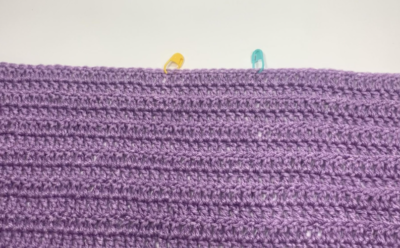
Chest
Count 30 stitches on the upper left side and place a stitch marker. Then, on the upper right side, count 30 stitches and place another stitch marker. You will have 9 stitches in the middle, which will be the opening of our coat.
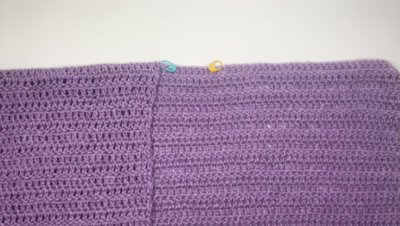
You should crochet 30 rows of 30 double crochet stitches on both the right and left sides.
Armhole
To close the armhole on the side of our coat, we can either sew it or crochet slip stitches.
First: Measure 20 cm from the top of the shoulder, which is where the sleeves of the coat will be crocheted.

Second: Begin crocheting or sewing the sides.

Sleeves
Rnd 1: Crochet 41 double crochet stitches, making sure there are exactly 41 stitches. You can distribute them in a way that works best for you.
Rnd 2-3: 41 double crochet stitches.
Rnd 4: 61 double crochet stitches, make 1 double crochet – 1 increase until you reach the last two stitches, then make 1 double crochet in each stitch (the important thing is to have 61 double crochet stitches in total).

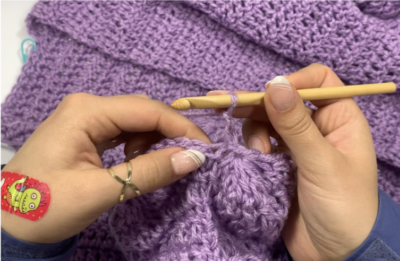
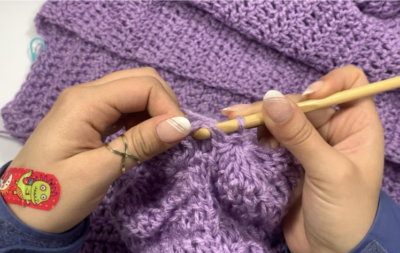
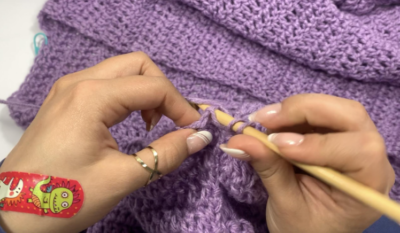
Bubble design on the sleeves
Rnd 5: 1 double crochet in the next 2 stitches, then in the next stitch, make a shell of 7 double crochet stitches. In the next 2 stitches, make 1 double crochet in each. In the next 7 stitches, make 1 double crochet without completing it, yarn over, (next stitch) make 1 double crochet without completing it, yarn over, (next stitch) make 1 double crochet without completing it, yarn over, (next stitch) make 1 double crochet without completing it, yarn over, (next stitch) make 1 double crochet without completing it, yarn over, (next stitch) make 1 double crochet without completing it. You will have 8 loops on your hook. Yarn over and close them all by passing the yarn through all of those loops. Then, make 1 double crochet in the next 2 stitches, and in the following stitch, create a shell of 7 double crochet stitches.
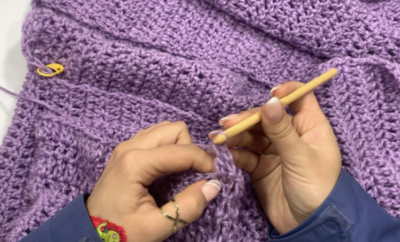
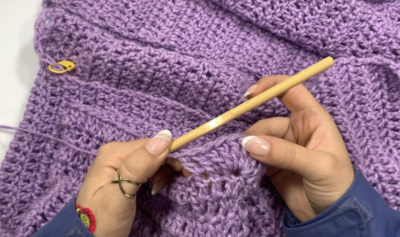


This sequence will be repeated all around the round, and close with a slip stitch.
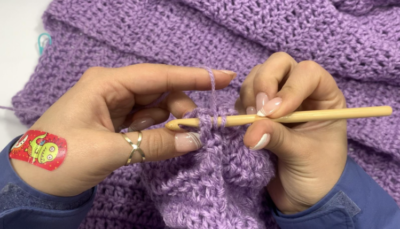
Rnd 6: 2 chains, in this round we will crochet front post double crochet stitches. Yarn over and insert the hook in front of the stitch to make the second double crochet this way (with the 2 starting chains, we form the first double crochet).


Next, for the double crochet stitches of the shell you made in the previous round, insert the hook from underneath and make a double crochet. Then, repeat the front post double crochet in the same way until you have 7 front post double crochet stitches.
For the 2 double crochet stitches from the previous round, insert the hook in front of the stitch and make a front post double crochet, then do the same for the next double crochet, creating another front post double crochet.
In the stitch where you crocheted everything together, insert the hook underneath all those stitches and make a front post double crochet.
This sequence will be repeated all around the round, and close with a slip stitch.
Rnd 7: 2 chains, in this round we will crochet front post double crochet stitches. Yarn over and insert the hook in front of the stitch to make the second double crochet this way (with the 2 starting chains, we form the first double crochet).
Next, for the double crochet stitches of the shell you made in the previous round, insert the hook from underneath and make a double crochet without completing it (since we are going to make decreases). In the next stitch, make 1 double crochet without completing it, and you will have 3 loops on the hook. Close them all. Now, in the next 3 stitches, make 3 front post double crochet stitches. In the following stitch, make 1 double crochet without completing it (as we are making a decrease), then make another double crochet without completing it, and you will have 3 loops on the hook. Close them all.
For the 2 double crochet stitches from the previous round, insert the hook in front of the stitch and make a front post double crochet, then do the same for the next double crochet, creating another front post double crochet.
The front post double crochet you made in the previous round, you need to make another front post double crochet in the same way you did before.
Then, make another front post double crochet in the 2 double crochet stitches from the previous round. Insert the hook in front of the stitch and make a front post double crochet, and then do the same for the next double crochet, creating another front post double crochet.
This sequence will be repeated all around the round, and close with a slip stitch.
Rnd 8: 2 chains, in this round we will crochet front post double crochet stitches. Yarn over and insert the hook in front of the stitch to make the second double crochet this way (with the 2 starting chains, we form the first double crochet).
The previous decrease will be taken the same way from underneath. Make the double crochet without completing it (since we are making decreases), then in the next stitch, make 1 double crochet without completing it, and you will have 3 loops on the hook. Close them all. In the next stitch, make 1 front post double crochet, then in the following stitch, make 1 double crochet without completing it (since we are making a decrease), and in the next stitch, make 1 double crochet without completing it, leaving 3 loops on the hook. Close them all.
For the 2 double crochet stitches from the previous round, insert the hook in front of the stitch and make a front post double crochet, then do the same for the next double crochet, creating another front post double crochet.
The front post double crochet you made in the previous round, you need to make another front post double crochet in the same way you did before.
Then, make another front post double crochet in the 2 double crochet stitches from the previous round. Insert the hook in front of the stitch and make a front post double crochet, and then do the same for the next double crochet, creating another front post double crochet.
This sequence will be repeated all around the round, and close with a slip stitch.
Rnd 9: 2 chains, in this round we will crochet front post double crochet stitches. Yarn over and insert the hook in front of the stitch to make the second double crochet this way (with the 2 starting chains, we form the first double crochet).
Now, you will completely close the bubble you are crocheting. Do it like this: in the next 3 stitches, make 1 double crochet without completing it, yarn over, (next stitch) make 1 double crochet without completing it, yarn over, (next stitch) make 1 double crochet without completing it, leaving 4 loops on the hook. Close them all.
For the 2 double crochet stitches from the previous round, insert the hook in front of the stitch and make a front post double crochet, then do the same for the next double crochet, creating another front post double crochet.
The front post double crochet you made in the previous round, you need to make a shell of 7 double crochet stitches (this will allow you to start creating the crocheted bubbles again in the next round).
Then, make another front post double crochet in the 2 double crochet stitches from the previous round. Insert the hook in front of the stitch and make a front post double crochet, and then do the same for the next double crochet, creating another front post double crochet.
This sequence will be repeated all around the round, and close with a slip stitch.
In round number 10, you will start crocheting all these sequences again until you have a total of 3 rounds with the crocheted bubbles.
IMPORTANT: When you reach the end of the last round of bubbles (when they need to be completely decreased), do not make the shell of 7 double crochet stitches in that round, as only 3 rounds with bubbles are needed.

Ribbing for the sleeve cuffs
2 chains, next stitch, insert the hook from behind (front post) into the stitch where the bubble is and make a double crochet. In the next stitch, only take 1 loop from the front and make a double crochet (since we are making a decrease). In the next stitch, take only 1 loop from the front and make a double crochet. Then, in the next stitch, insert the hook from behind (front post) into the stitch where the bubble is and make a double crochet, repeating this sequence until you complete the entire round.

This sequence will be repeated 8 times.
Remember that it is worked in front post and back post double crochet, and the front post double crochet stitches must align with the back post double crochet stitches.
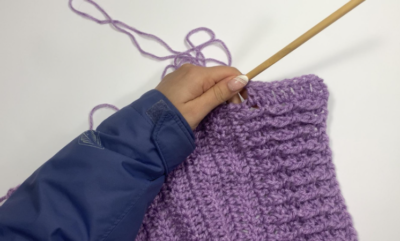
Ribbing that surrounds the coat
For this ribbing, you will start by crocheting front post and back post double crochet stitches (one in front and one in back) at the bottom of the coat. You will make a total of 8 rows.
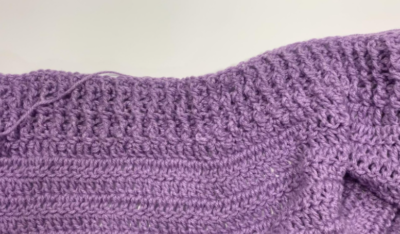
Then, without cutting the yarn, you will begin crocheting the same front post and back post double crochet stitches (one in front and one in back) on the front part of the coat for 6 rows.
Bubble coat